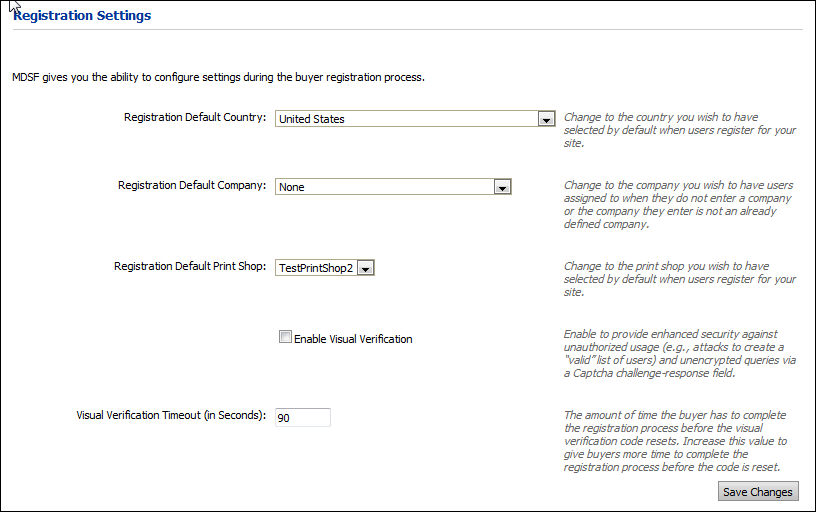
On the Registration Settings page you can configure settings that govern buyer self-registration.
● Registration Default Country
● Registration Default Company
● Registration Default Print Shop
● Enable Visual Verification
1. Go to Administration
> Registration Settings.

2. On the Registration Settings page, configure the following options:
a. Registration Default Country: From the pull-down list, select the country that self-registering users will be associated with by default (i.e., this affects the unit system of measurement, currency, etc.).
b. Registration Default Company: From the pull-down list, select the company that self-registering users will be associated with by default (i.e., when they either specify no company or a company that is not defined for your site).
c. Registration Default Print Shop: From the pull-down list, select the Print Shop that self-registering users will be associated with by default (i.e., when they either specify no Print Shop or a Print Shop that is not defined for your site).
d. Enable Visual Verification: Check
this box to provide enhanced security against unauthorized usage (e.g.,
attacks to create a “valid” list of users) and unencrypted queries via
a Captcha challenge-response field on the Create an Account page when
users are self-registering on the buyer side (as shown below)

● Visual Verification Timeout (in Seconds): Enter a value to specify the amount of time the buyer has to complete the registration process before the visual verification code resets. The default is 90 seconds. Increase this to give buyers more time to complete the registration process before the code resets.
3. Click Save Changes.